Lab 06: Introduction to PHP
Pre-requisite: Install Herd and PHP
If you have not yet set up Herd and PHP in your machine, refer here for instructions. This lab activity assumes that you have PHP already available in your machine. If you happen to use a different application to host a virtual PHP server in your machine, or are able to access a working PHP server on a LAMP/LEMP stack, that will work as well. Ensure that you make the necessary measures to be able to follow through the next few lab activities going forward.
The past few labs were spent on learning how to develop the frontend of a website/web application. With PHP, we can develop a backend for such websites/web applications - one of the most common processes carried out by the backend is processing information from a web form, which may or may not involve storing or retrieving such information in a database. Not focusing on the database part for now, running PHP scripts require a specific environment for it to run.. that's why often times, you'll require additional programs or applications in your machine if you want to develop anything involving PHP.
There will be two lab activities, one of which will extend from Lab 02. These lab activities will get you up to speed with the PHP syntax and various program control structures. The one involving progress from Lab 02 will give a glimpse into how PHP can be used to make a web form actually useful.
Getting Started
While PHP files exist, we can come across those with HTML, CSS and JavaScript added as part of the file's contents.
Regardless, PHP code itself is kept in PHP blocks <?php ... ?>.
Here's a simple PHP block, if which with is the only contents inside a PHP file, should show you the standard "It works!" on a web browser.
In PHP, variables are prepended with the $ symbol.
For instance, variable x will be presented in PHP as $x.
Lab Activity 01: Introducing PHP into HTML
Let's begin with a table structure constructed using HTML and CSS.
Starting Code
You should see this output:
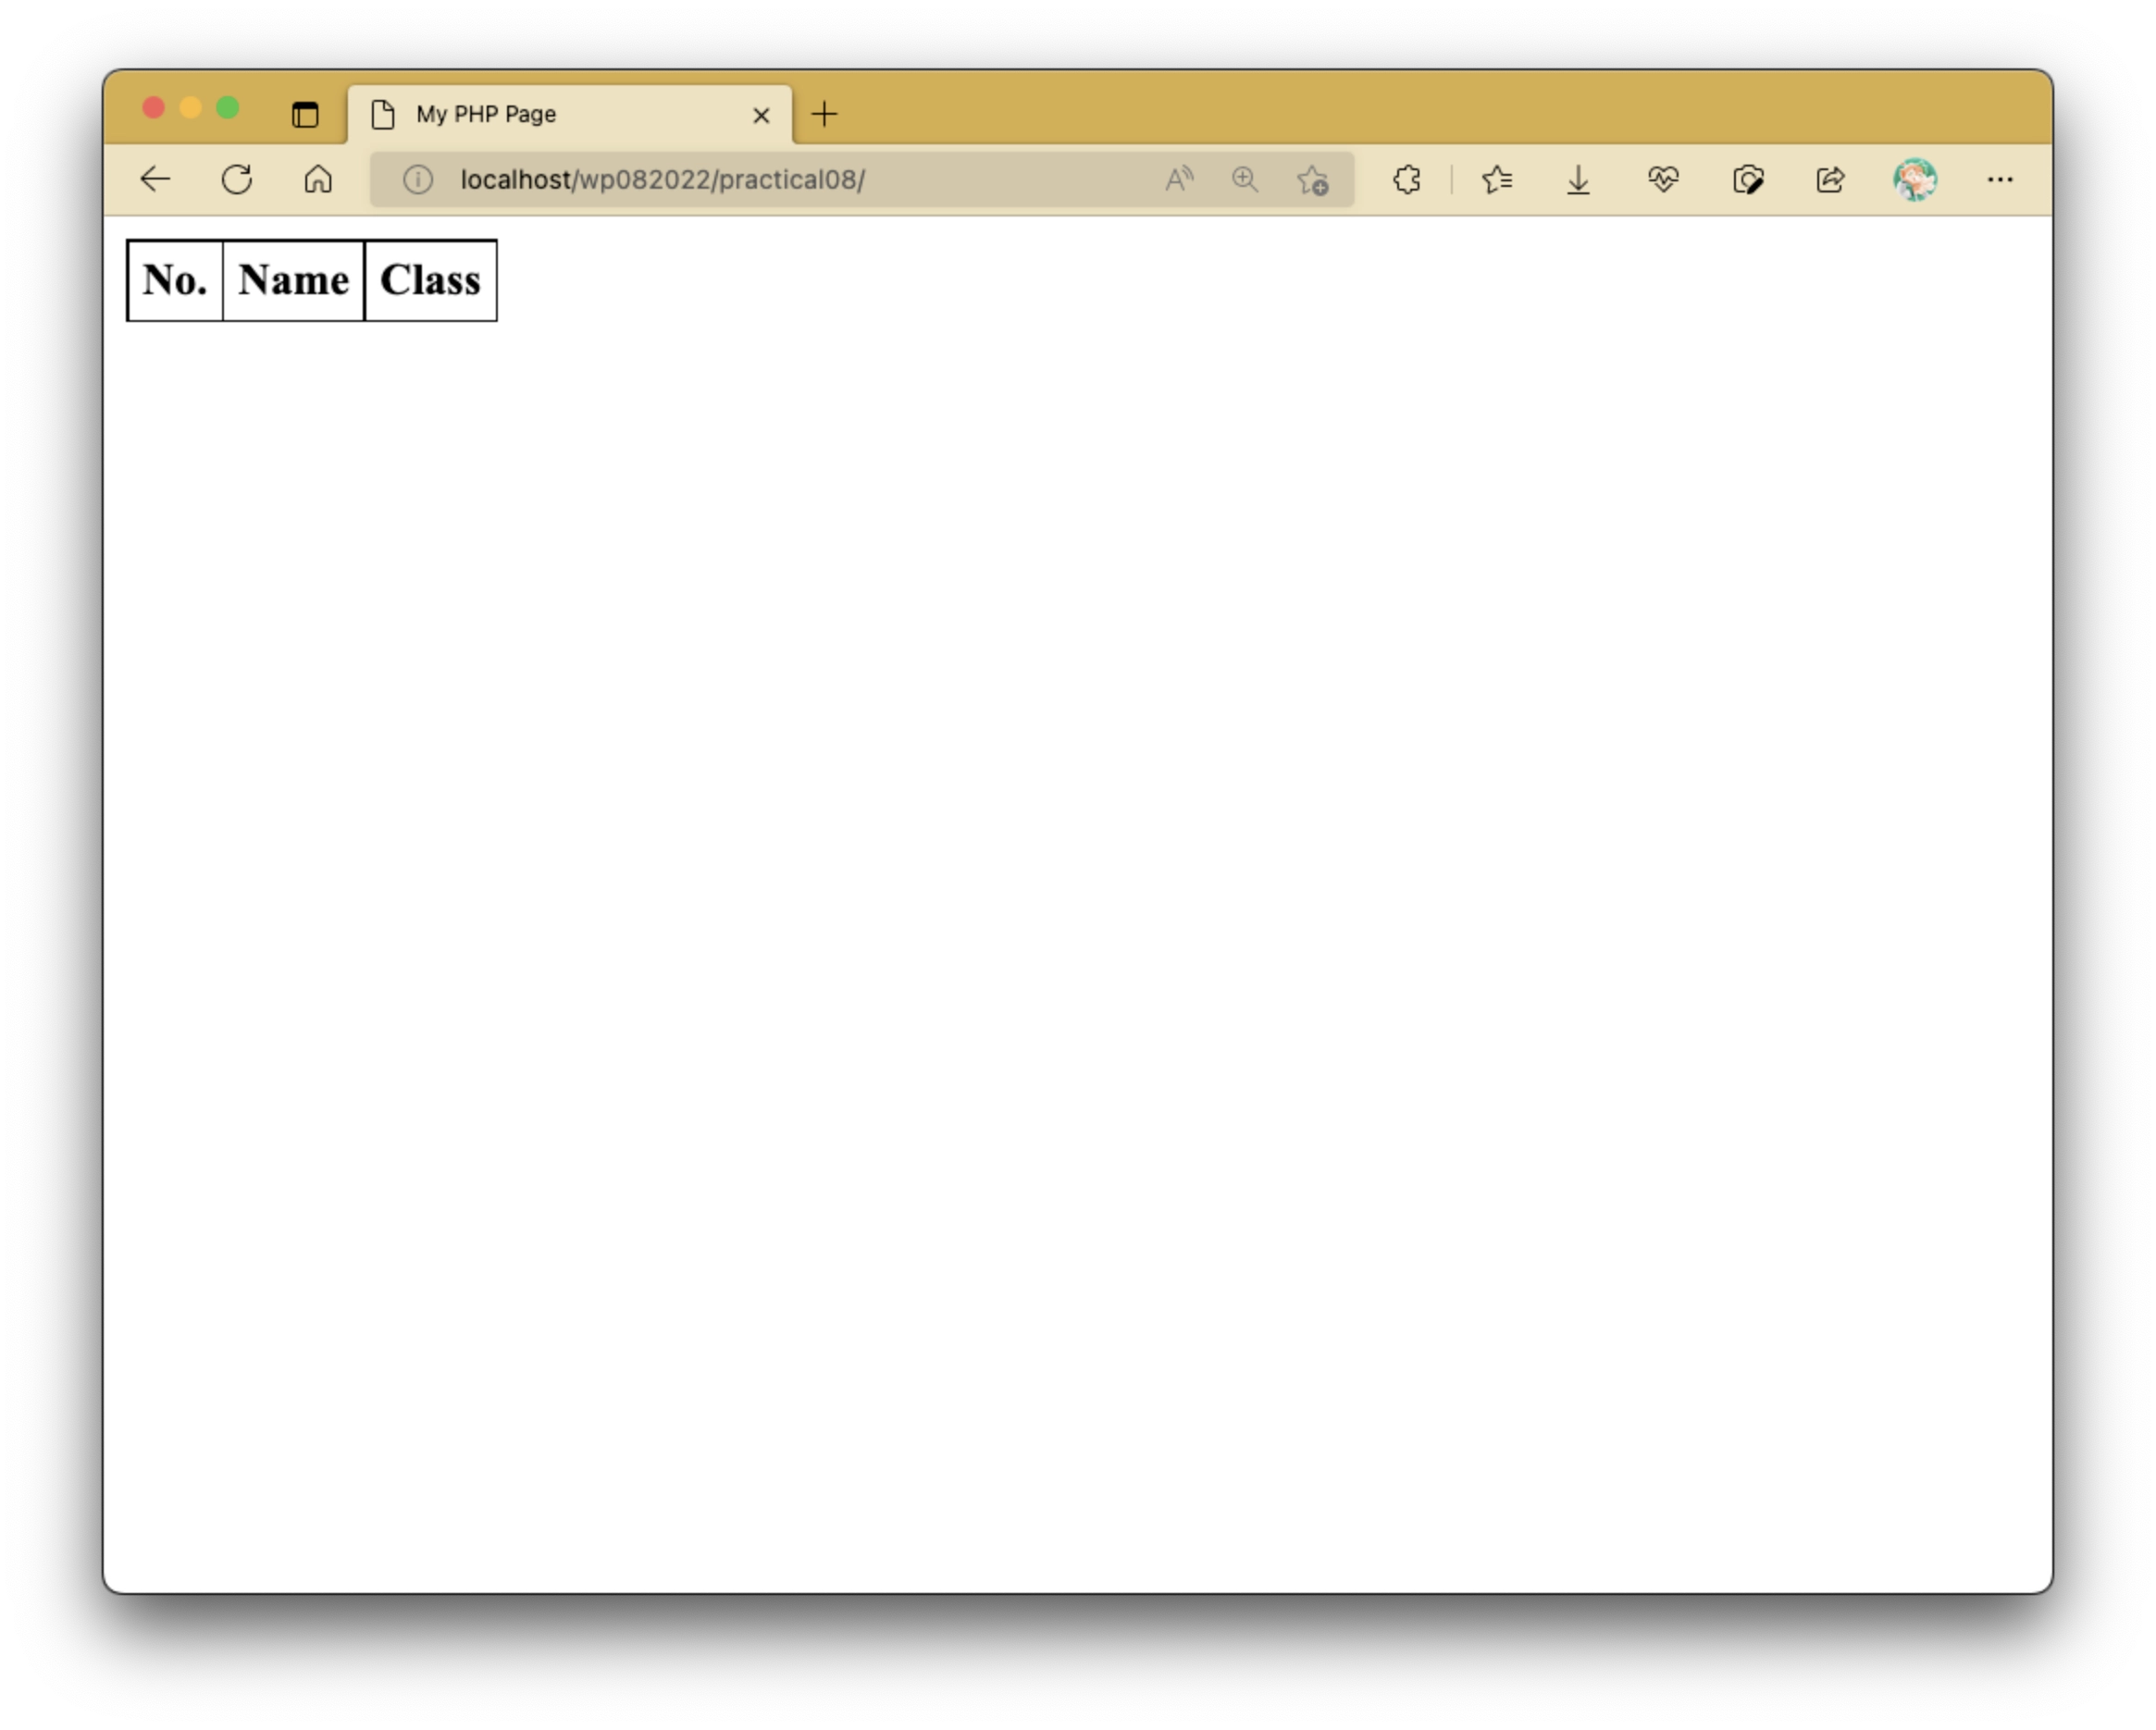
Note that the table as shown here does not have any other rows displayed aside from the header row.
Task 1: Populating the Table with PHP Data
We will now have PHP utilize the array values as stored in the following PHP code block to populate the table.
Place the following PHP block on top of index.php:
Add the following code block in between the <tbody></tbody> tags:
The code block that's provided here makes use of a for loop to iterate over the elements in the array.
The for loop as shown here makes it so that a new <tr> row element along with its <th> and <td> elements are created during each iteration.
Since there are 4 items in the array, the for loop ends up creating 4 rows of data.
The highlighted lines show that a PHP block can be prematurely broken to encapsulate HTML code as part of your program control structure's block. This will apply for all loop structures and conditional statements.
You may also notice that in between lines 5 to 7, they make use of special expression tags <?= ... ?> that are purposed to print out the values of expressions and/or PHP variables.
Let's see this in action again.
Task 2: Create New HTML Element in PHP
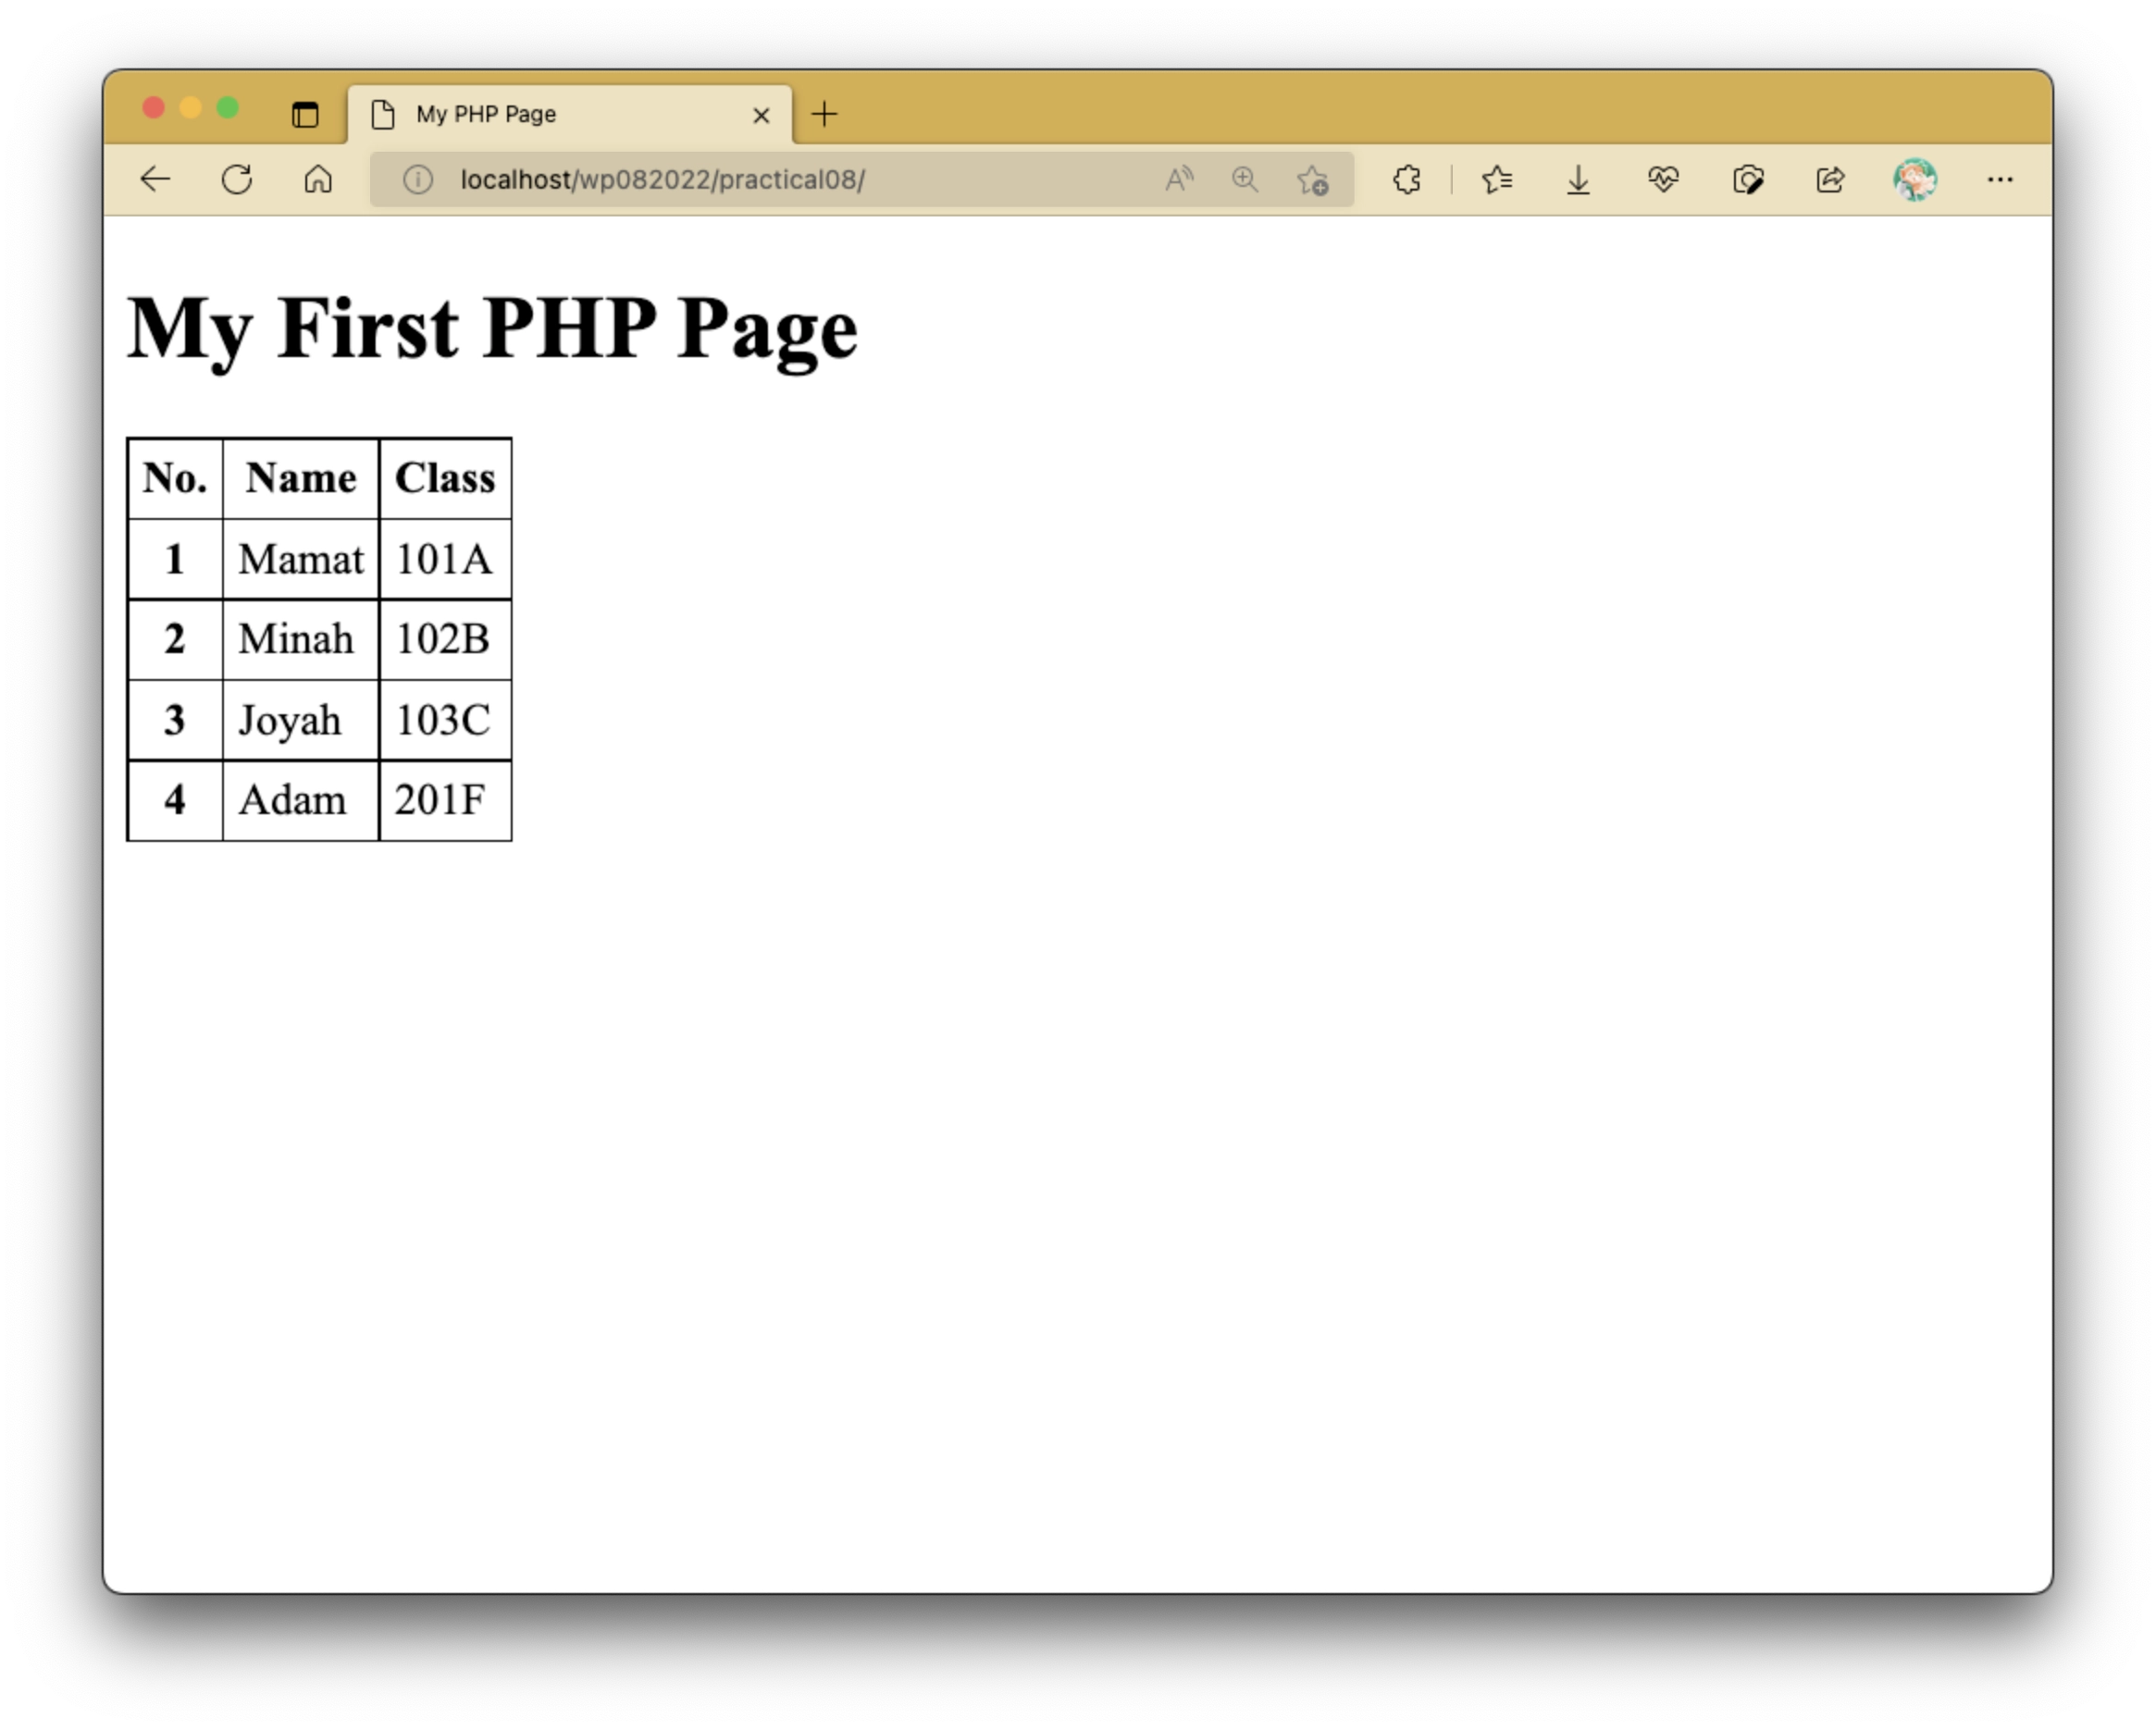
Create an empty <h1></h1> tag before the table in your HTML, and add the following variables in the top PHP block:
Hence or otherwise, add the value of $heading in the newly-created <h1></h1> element. You should now see something like as follows:
Task 3: Implementing a Simple "Forbidden Page"
With PHP, you can also create different views with conditional statements. Add one more PHP variable in the top PHP block:
Modify the webpage so that the heading and table only appear if $forbidden is false.
Otherwise, the webpage should display this message in a single (and separate) <h1> element:
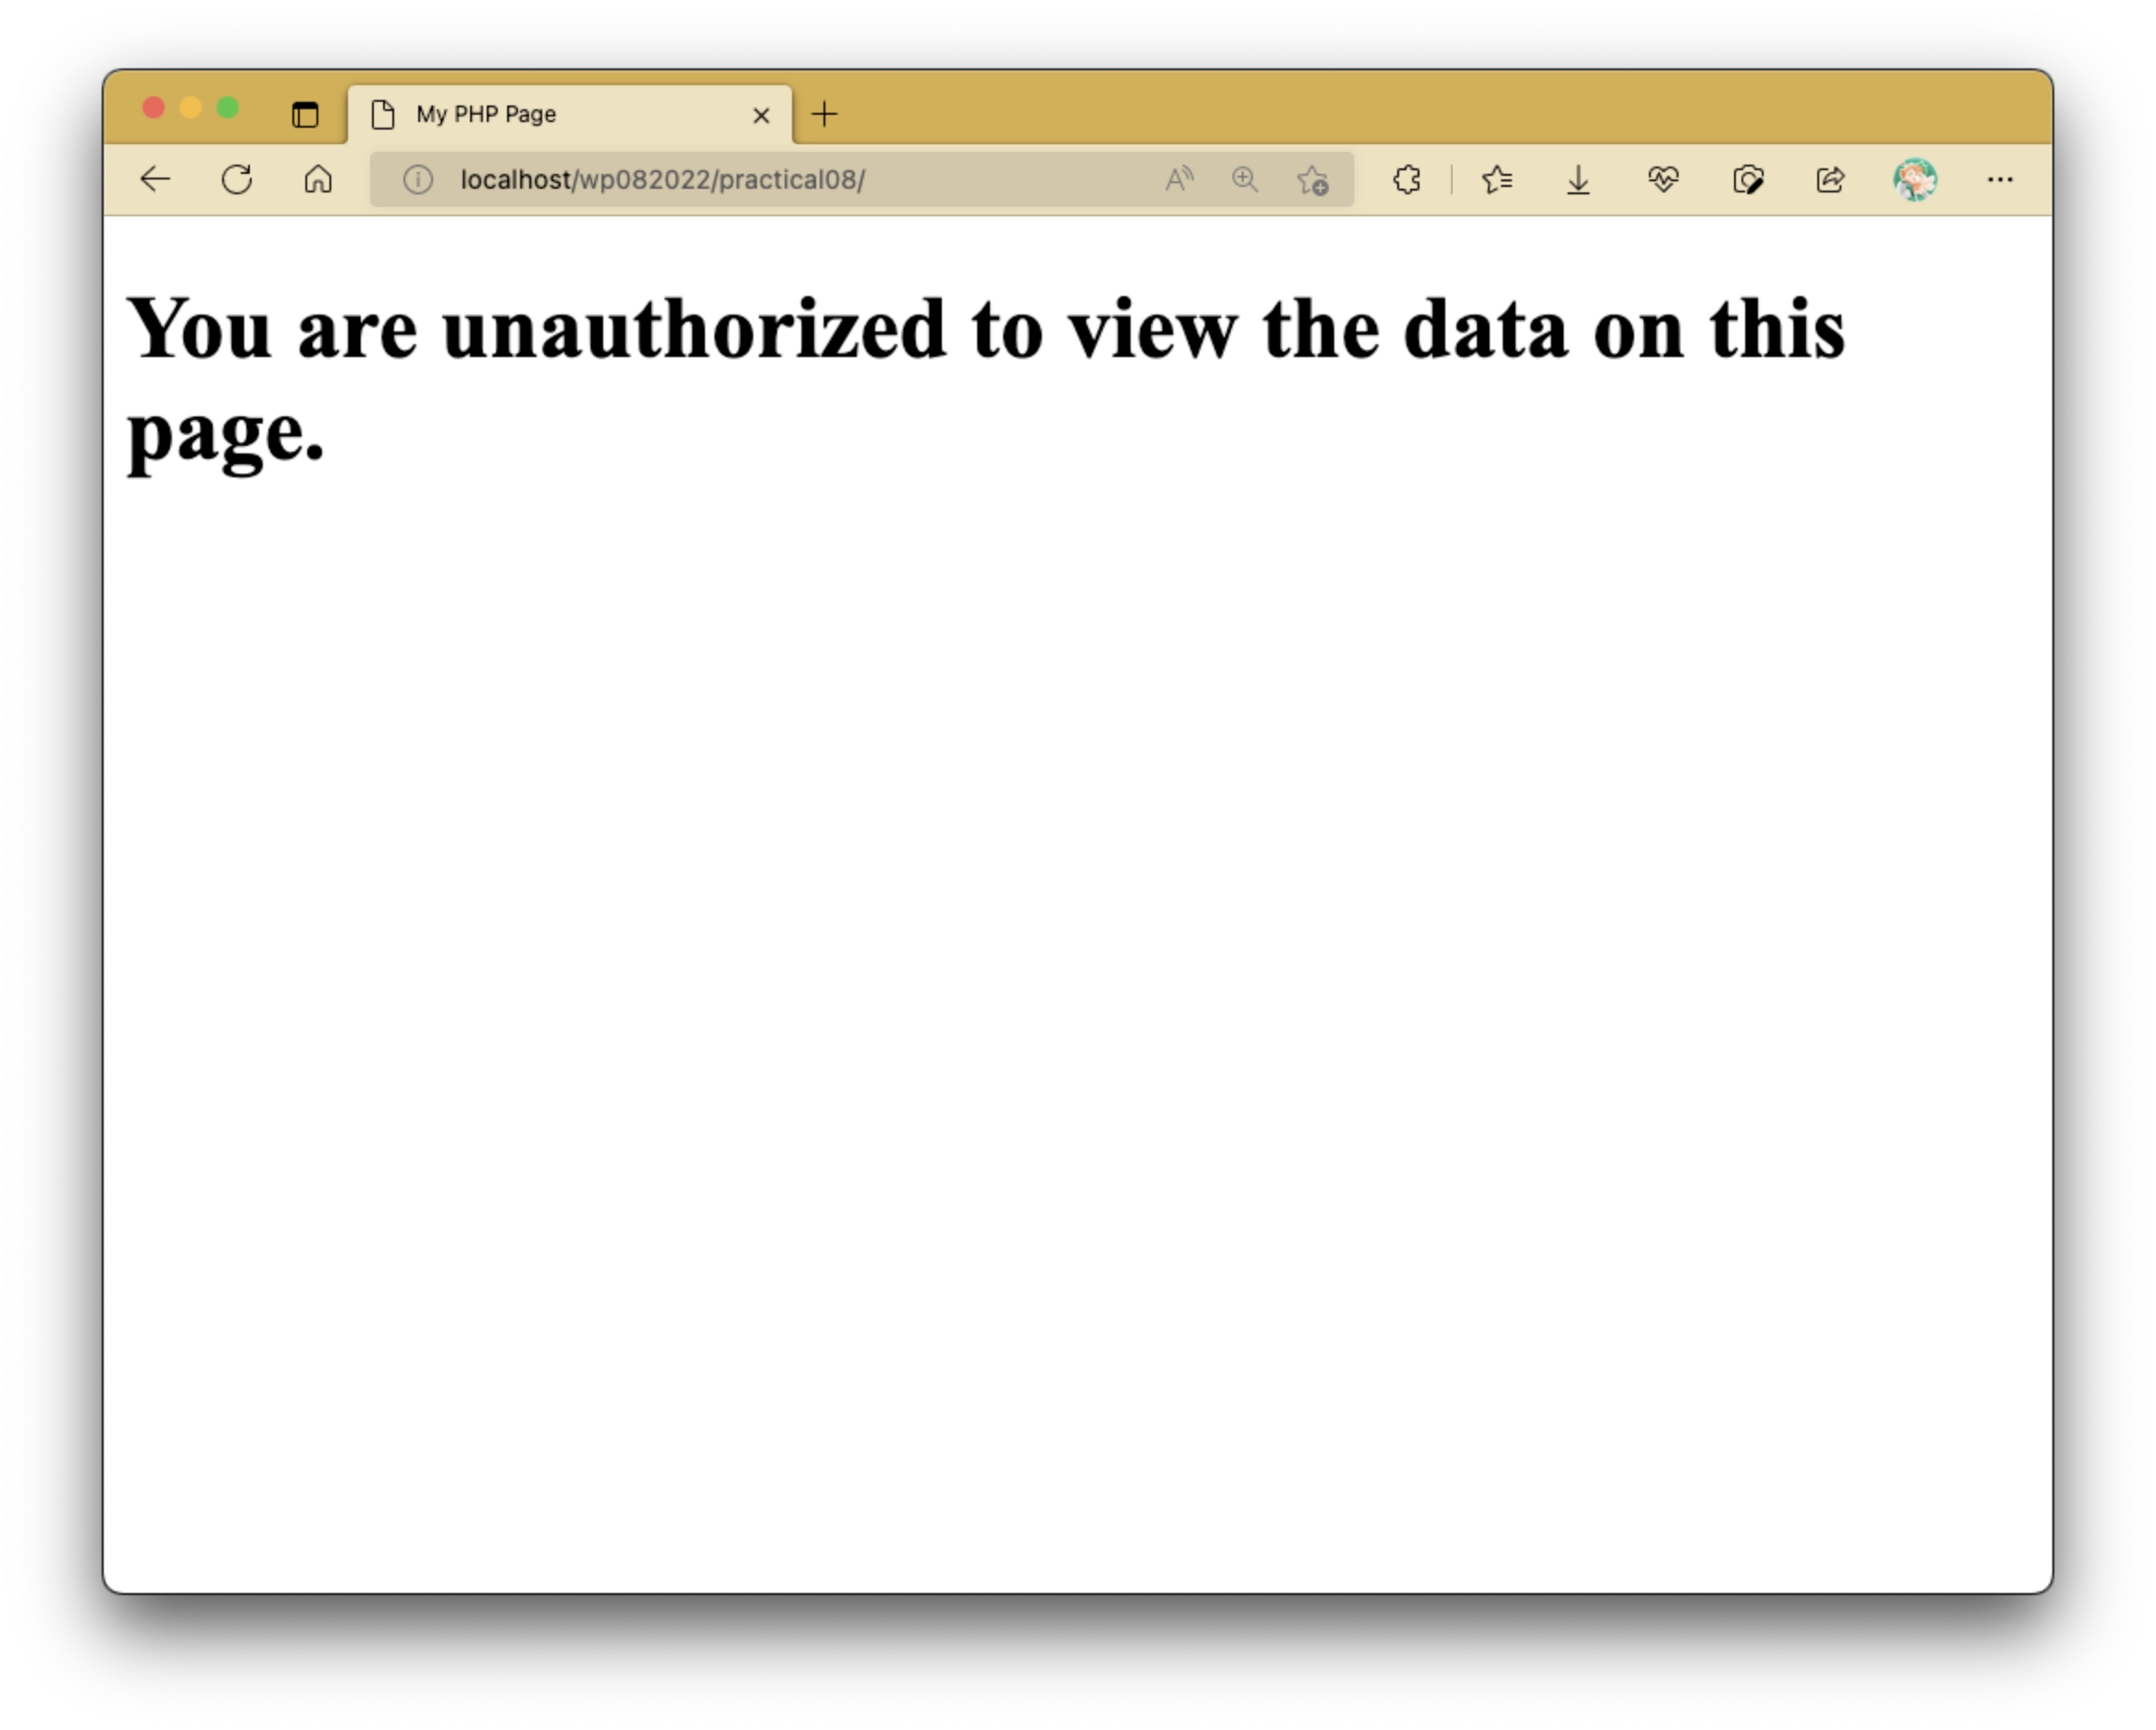
Forbidden Access Page
You may be familiar with the Error 404 page (page not found). This is an example of an Error 403 page, which is shown when a user does not have access to a page. Error 403 and 404 are among several HTTP response codes; check here for more details.
Solution
Alternatively, this if-else structure can be presented this way:
We will use program control structures more extensively in the next practical exercise. By now, hopefully you understand how to leverage PHP to prepare different views based on conditions.
Lab Activity 02: Student Record Form (Part 2)
Complete Lab 02 First
This lab activity continues off from where we left off after Lab 02. To follow along properly, ensure that you have completed that activity first before proceeding.
This activity will focus mainly on being able to retrieve information from the form. We will create a new PHP file that will summarize the information captured from this form here.
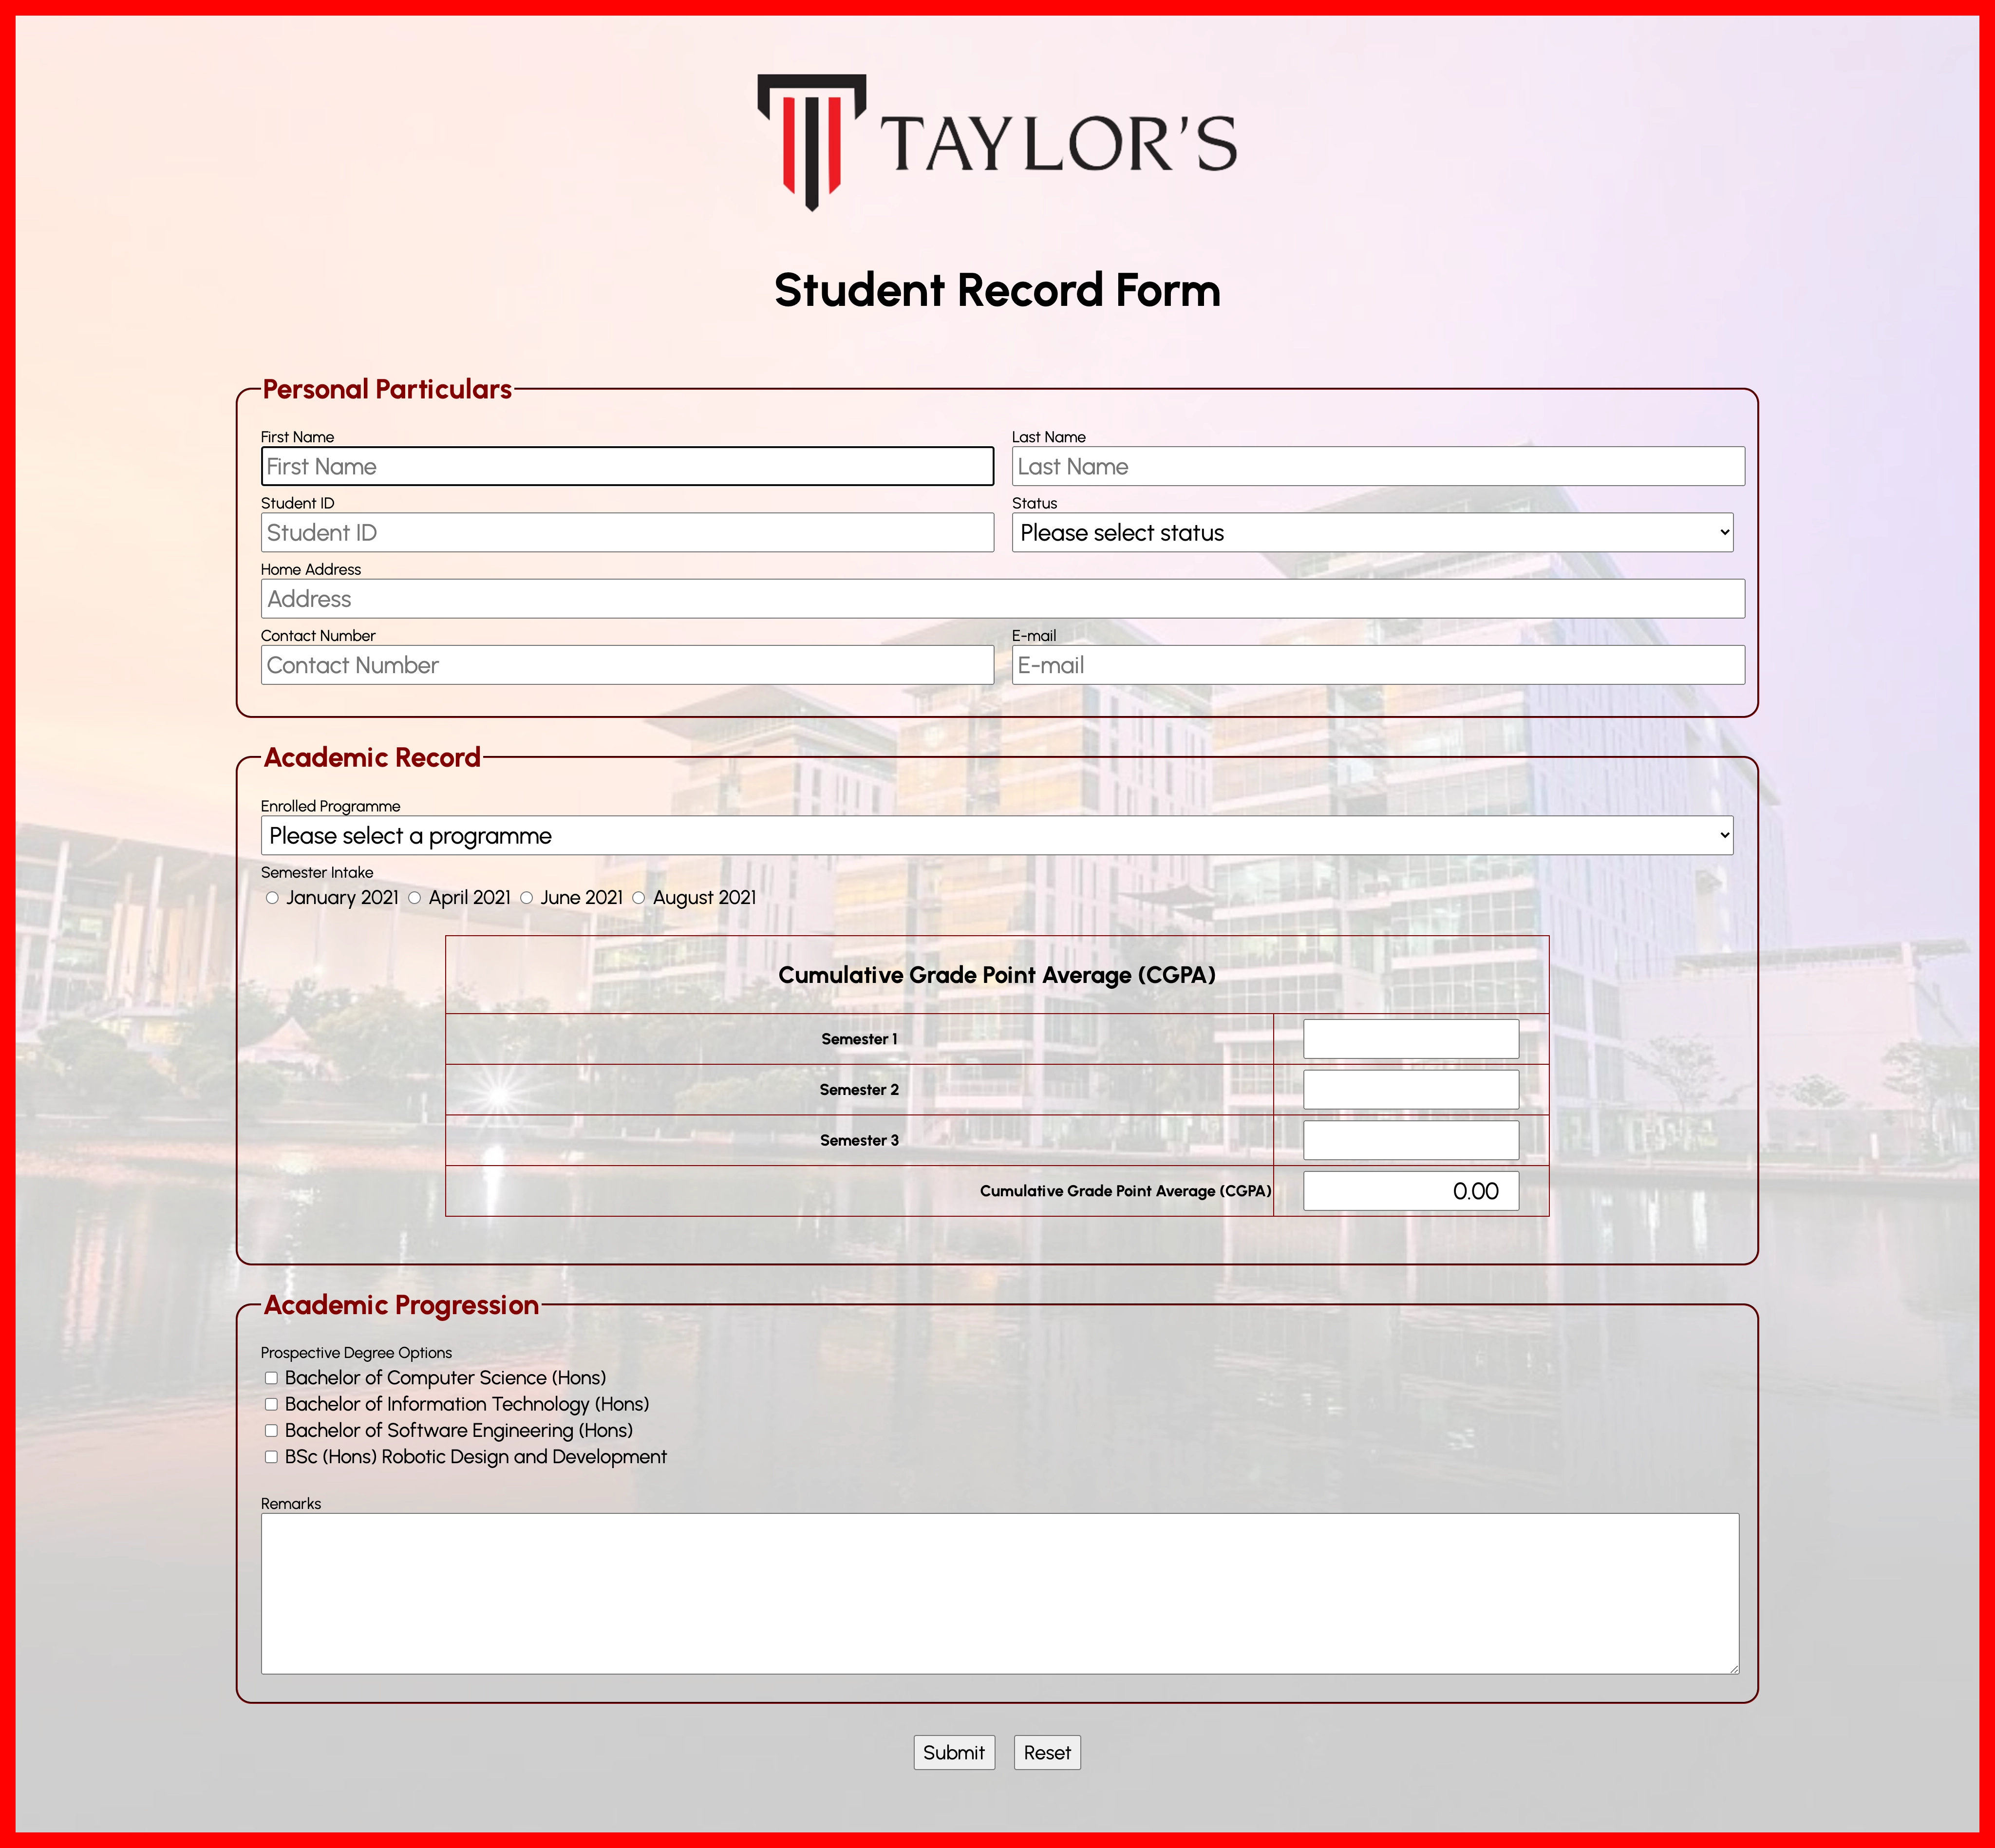
Another Look at The Web Form
Recall where we left off from Lab 02 - this is the form created there (or if you made this with your own twist, it may look somewhat different).
As is, upon clicking on the Submit button, it redirects you to an acknowledgment page screen like as follows:
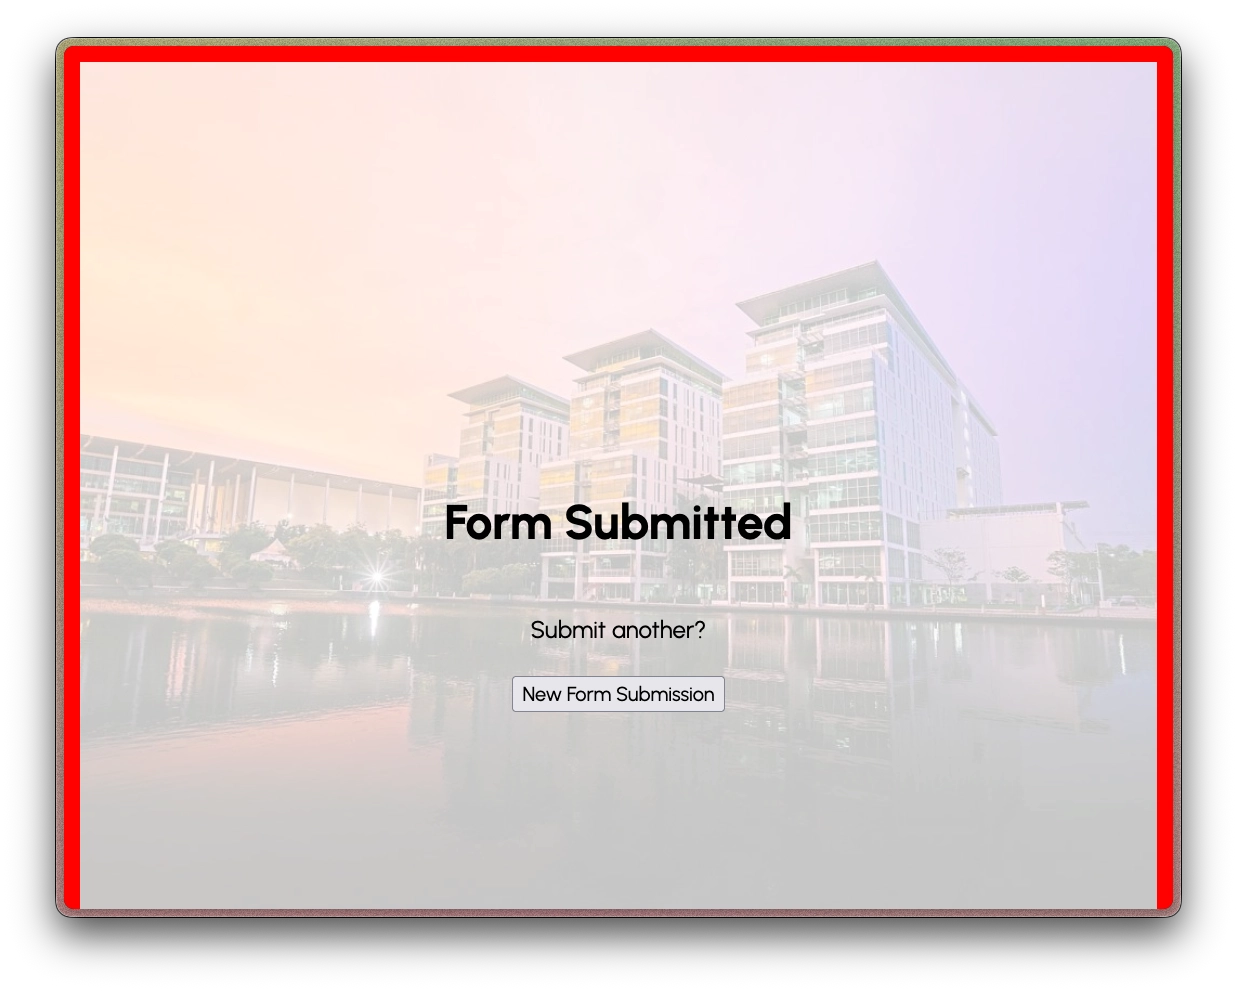
This lab activity will largely concern ourselves with making this acknowledgment page more useful. For those who asked themselves if this page could be more than just a page with a simple message, let's display information on it to show the users what information was captured!
Some JavaScript First
Before we begin incorporating any PHP with this web form, let's add in some JavaScript to make the form feel more complete.
I would highly suggest keeping these in an external JavaScript file, sequestered away in a separate folder (mine will be in the js/ folder).
Additionally, feel free to follow the name I give my JavaScript file or use your own (ensure you link them accordingly).
Automatic Calculation of CGPA
Let's have the CGPA be calculated each time any of the semesters' CGPAs are modified.
We will make reference to the <input> fields' id attributes (if you named them differently, ensure you have them modified accordingly).
These can be found in the table structure of the form.
Here, the id values are sem1, sem2 and sem3 (refers to elements input#sem1, input#sem2 and input#sem3 respectively).
Additionally, we will also target input#cgpa to contain the computed CGPA.
With the way how the <input> fields are created with the min and max attributes, we can safely ignore the edge cases for which an invalid CGPA value will be computed.
We first create a function getCGPA() that is solely responsible for calculating the CGPA based on the given CGPA values.
This implementation involves the map() and reduce() functions, something that can come in handy in certain situations.
Map, filter, reduce
The map() and reduce() functions are part of a common triad of utility functions (the third being filter()).
Put very simply, given an input array of items,
map()creates a one-to-one mapping of each item from the input array to a computed value. Basically, for each itemx,map()computesf(x)given functionf. The number and order output sequence of items will match that of the input array.filter()will retain the items in the input array based on whether the filter function producestrueor not. Basically, for each itemx,filter()retainsxiff(x)only if istrueor truthy, given functionf. The output sequence may or may not have the same number of items as the input list, in fact it is possible for it to be empty or full on both extremes as well.reduce()will produce a computed value based on the input array. Suppose given functionfis a sum function,reduce()will compute the sum of all values inside the input array.
To learn more about them, you may refer to the following videos:
Next, we create function displayCGPA() which will be responsible for displaying the computed CGPA (retrieved from getCGPA()) in element input#cgpa.
Additionally, we add some conditional styling to said element, depending on the computed CGPA.
If you like, this function can be called at the end of the JavaScript file to automatically compute the CGPA as soon as the webpage finishes loading.
With these two functions now created, let's create event listeners and attach it to elements input#sem1, input#sem2 and input#sem3.
These event listeners are the same, and will invoke displayCGPA() each time the values inside these elements are modified.
| script.js | |
|---|---|
Confirm Box
Let's introduce a confirm box that will prompt the user for a confirmation after clicking on the Submit button.
Here, we will simply select the <form> element, since there is only one such element in the webpage.
Should there be another <form> element, it would be best to include an id element to use with the .querySelector() method instead.
The event listener created here will listen for when the form is being submitted - during such, the confirm box will appear and prompt the user for the response.
Should the user confirm this action, it will proceed with the form submission.
Otherwise, the form submission is prevented (given event e, prevent the default behavior of submitting the form using the associated .preventDefault() method).
| script.js | |
|---|---|
At the end, you should now have the following:
With that, let's now start the PHP portion of this lab activity.
Retrieving and Displaying Data in the Acknowledgment Page
This second lab activity has shown you how information can be retrieved from one web form and passed on to another PHP script, be it for preprocessing or for data collection and storage. The next lab activity will be solely focused on creating a simpler web form from scratch, but with more moving parts in the PHP side of things.
Let's begin with tweaking the form a little - under the action attribute in the <form> element head tag, modify it to open form-submitted.php instead of form-submitted.html.
Likewise, change the file extension of the file of the same name from .html to .php.
| index.html | |
|---|---|
Task 1: Display Retrieved Information from Form
With that said, head over to form-submitted.php through submitting the form. (This is important!)
Right now as is, you should not be able to view any useful information at the moment.
Add a paragraph <p> element containing the retrieved information from the form.
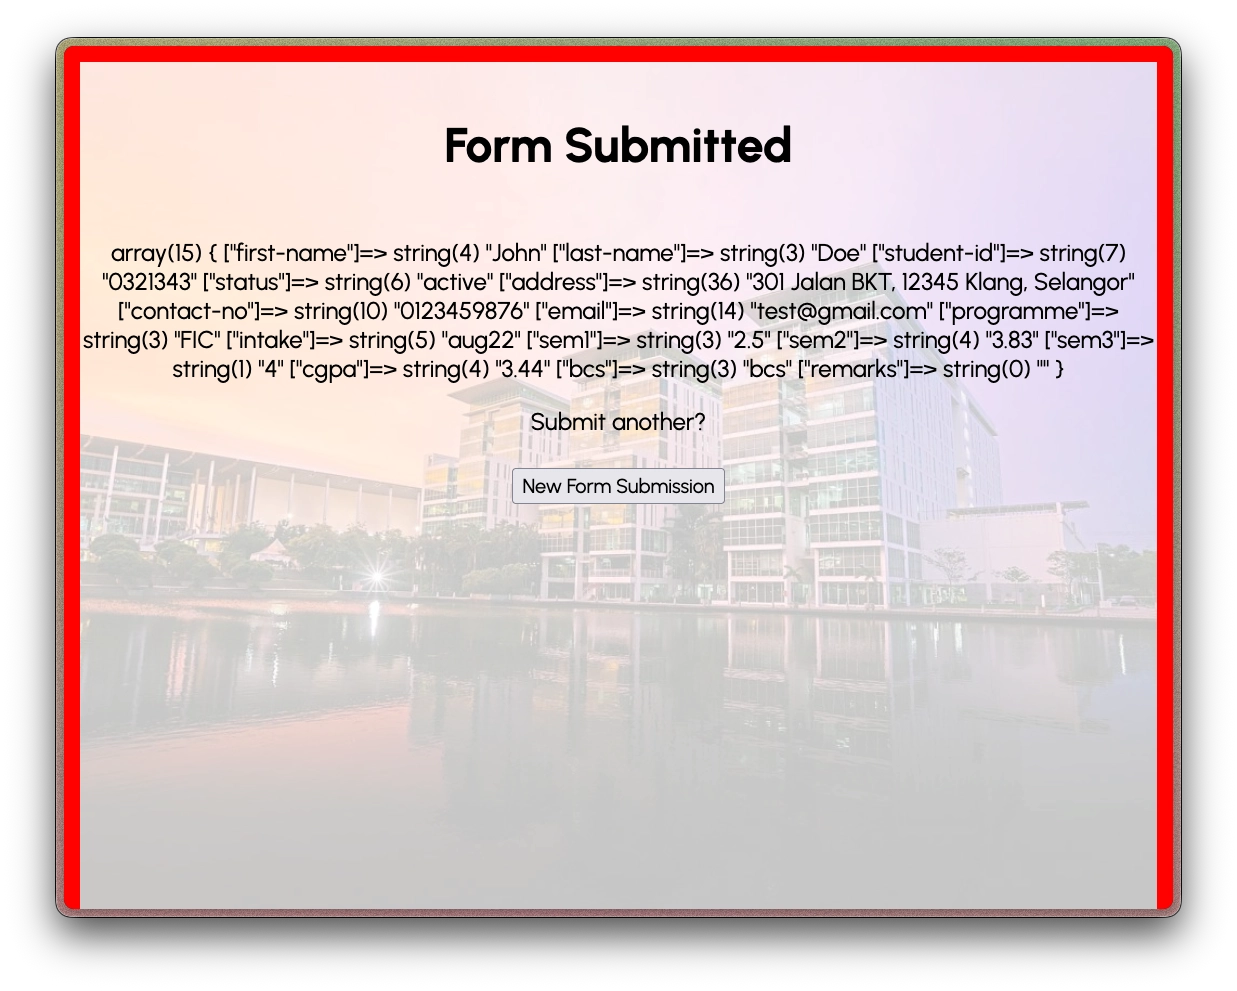
We use the var_dump() function to display all the contents inside a superglobal associative array named $_POST - this is where the information is kept; more on this in Lab 08.
| form-submitted.php | |
|---|---|
Upon refreshing the page (click yes if asked to resubmit form), you should be greeted as follows (I have used dummy data of my own for reference).
To move up the displayed text, modify the padding property of the <h1> element in form-submitted.css from 40% 0 2rem to 5% 0 2rem.
The var_dump() function is very useful for displaying any data inside associative arrays - another one you can consider using is print_r(), which is more presentable than thorough.
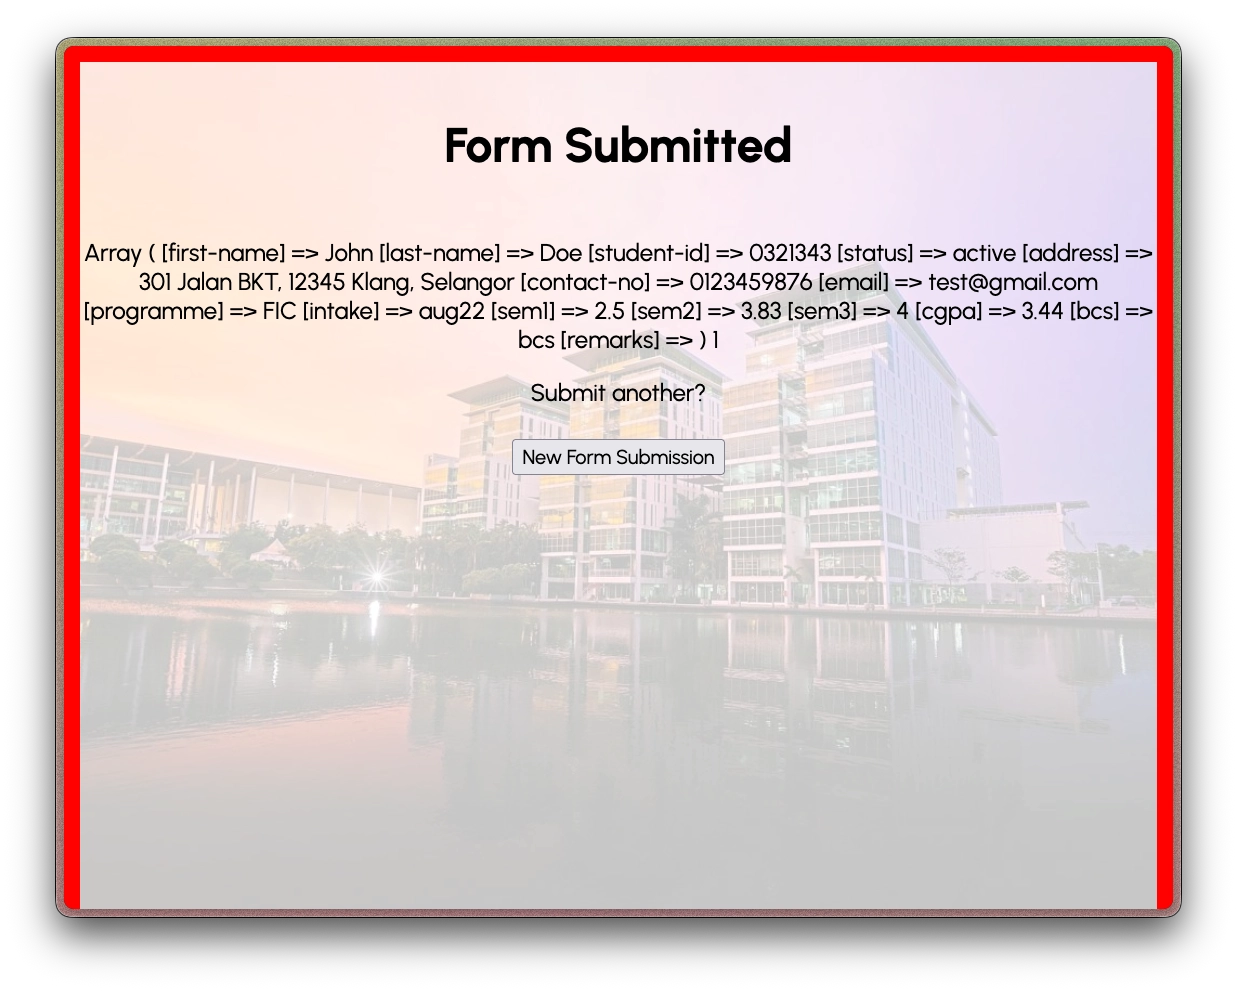
Regardless of which of the two functions you use, this is useful during the development stage (but unfortunately not as much for the end user).
For now, as long as you are able to see information keyed into the form from index.html, you can safely remove the <p> element we just created.
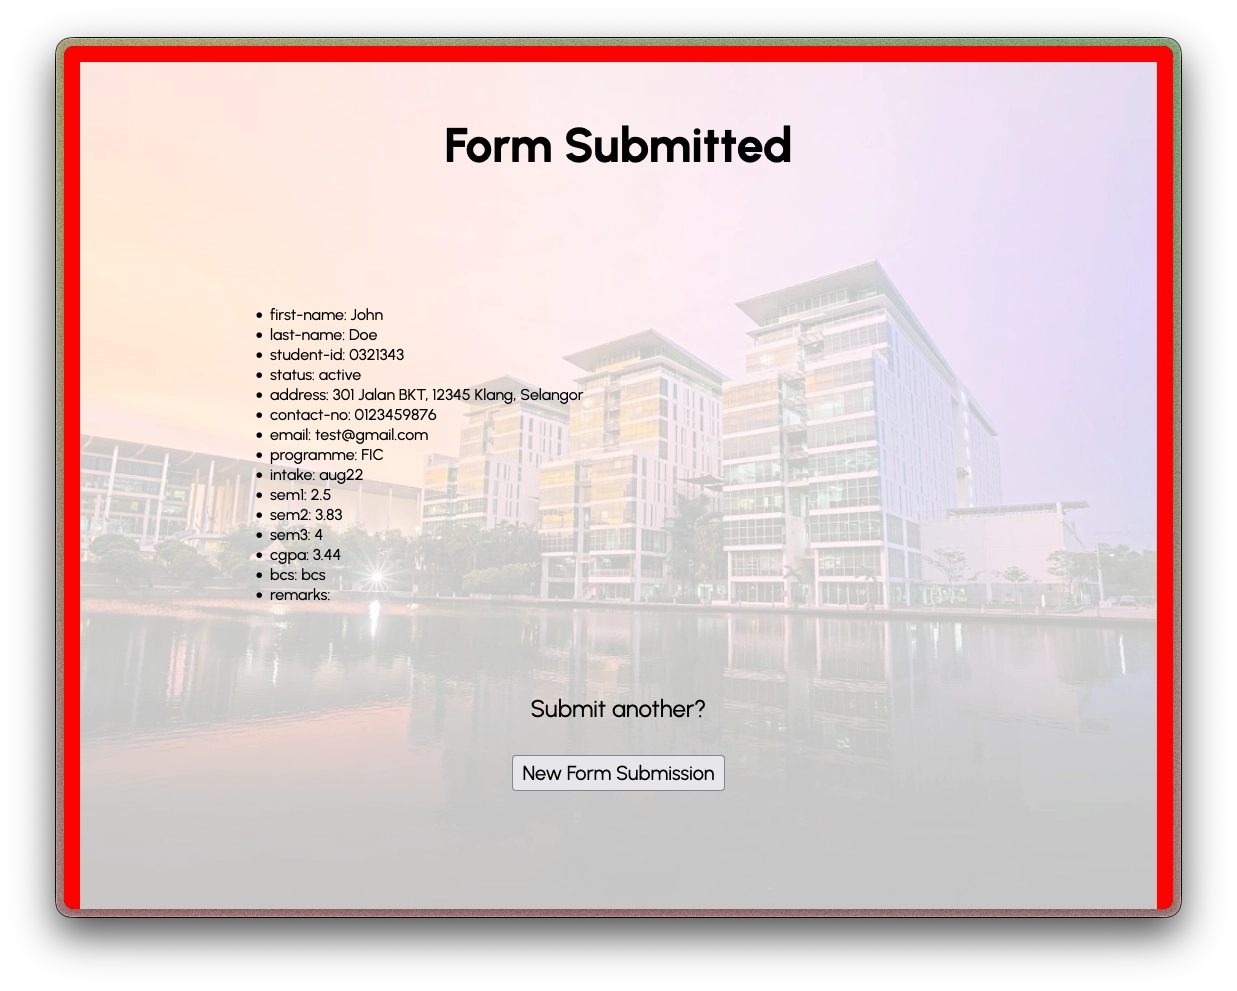
Task 2: Presenting Retrieved Information
We will not go into beautifying the information here (though that is a very good extra stretch task you can take on). For each piece of information retrieved, we will present them as part of an unordered list.
| form-submitted.php | |
|---|---|
The <body> element already has class .center, so we will contain the unordered list <ul> element inside a <div> element with id form-info.
We will add some additional styles to div#form-info to add some padding to it while reverting the text alignment from being centered to being left-aligned.
It's far from the best at this point, but feel free to modify the code some more to either enlarge the text or simply present the information in an alternative manner as you please.